Today, I was finally at the point that I could start to put things together. I just had a few last little bits to get ready. I also had some other things going on today, so my time was a little piecemeal. I got a good bit done though, even with the breaks.
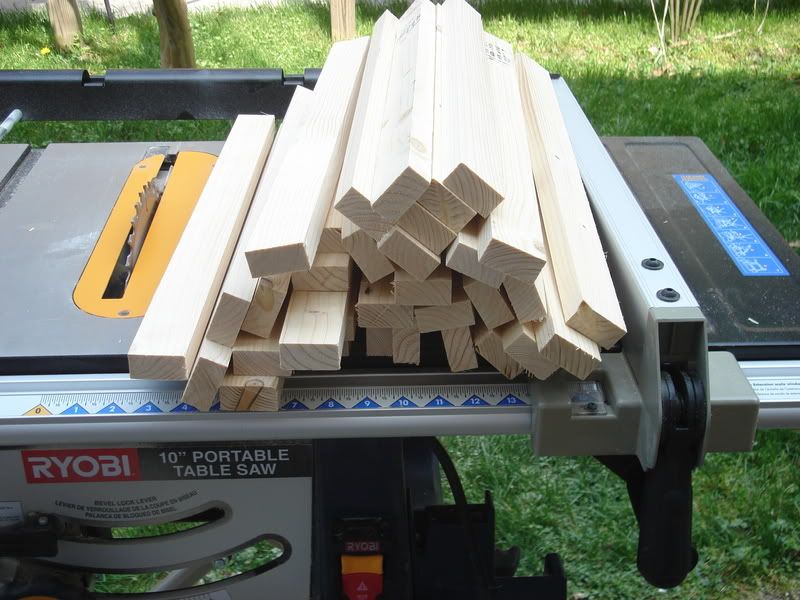
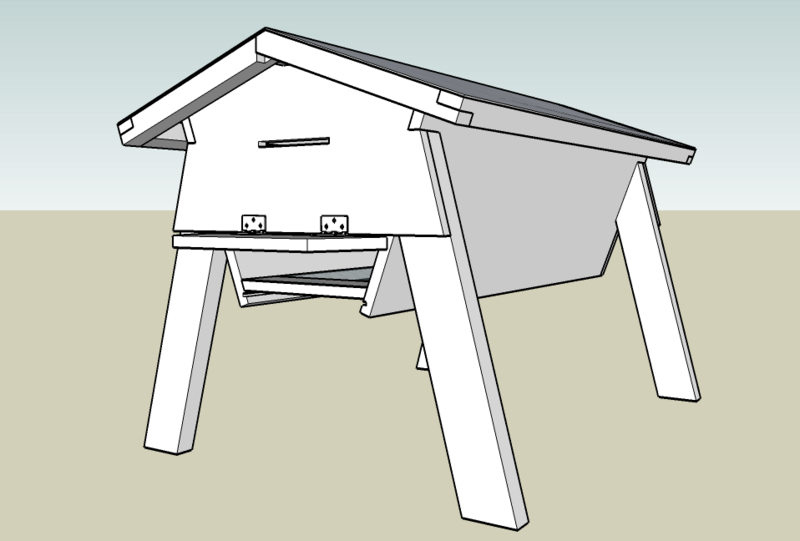
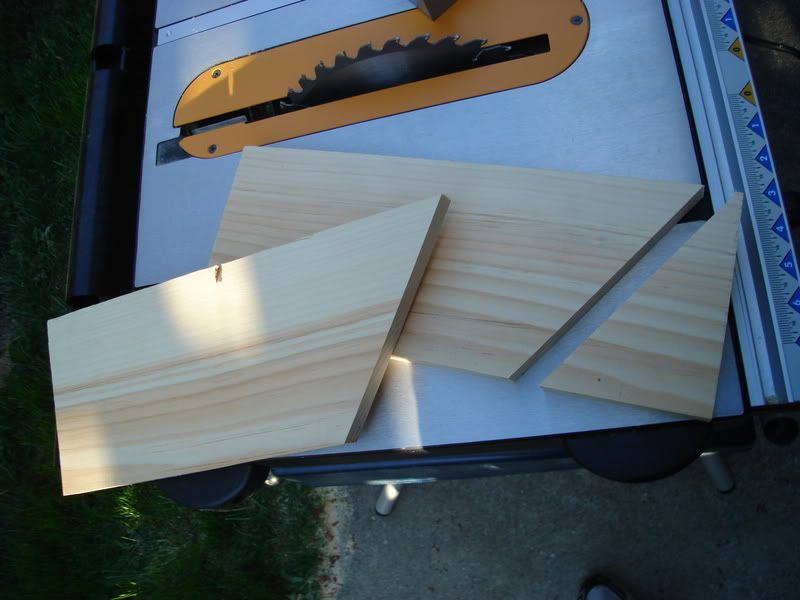
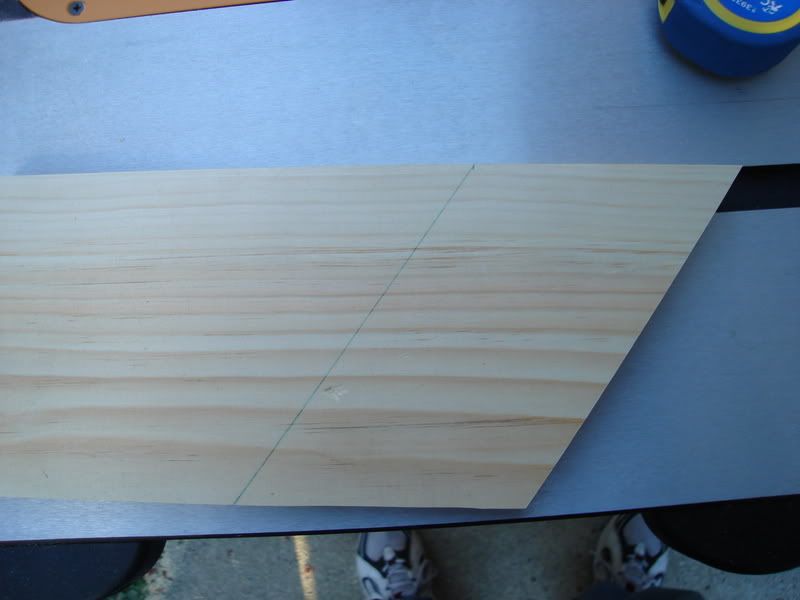
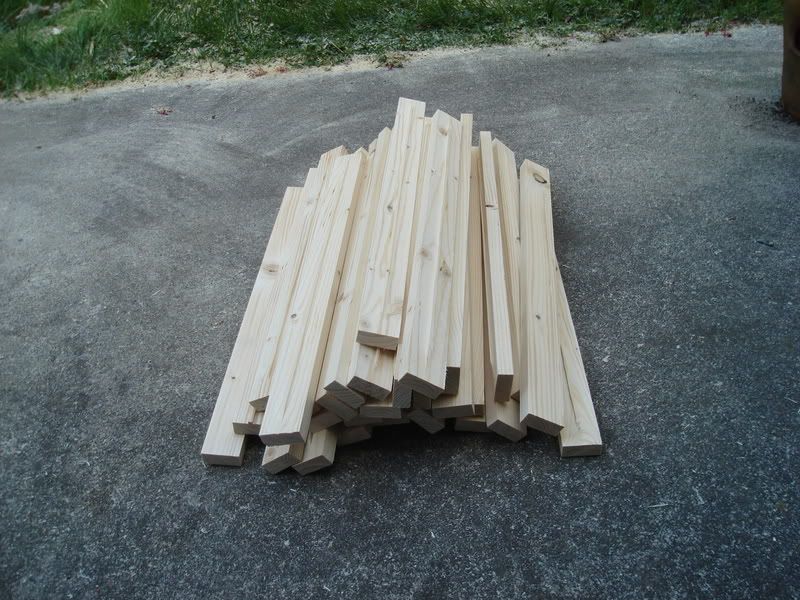
 This morning, I went to a local home improvement store to get the last lumber I would need (I think its the last 😛 ). I needed some pressure treated 2×4’s for the legs. Instead of getting two 8′ lengths, I decided to go with 2 10′ lengths. It was a little more, but would allow me to make the hive a little taller. It should make it a little easier to work (don’t have to bend over as much). I cut 4 legs from each 10′ 2×4. One end was cut at 15 degrees (to sit flat on the ground), while the other was cut at 55 degrees (to meet the 20 off vertical sides of the hive). This puts the leg at 15 degrees off vertical, which seemed about right when I designed the hive (gauged by eye on the computer).
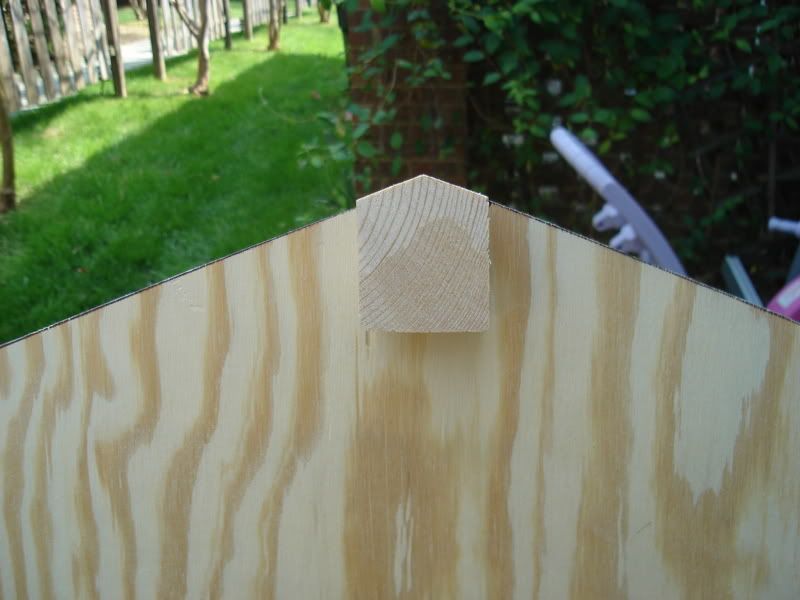
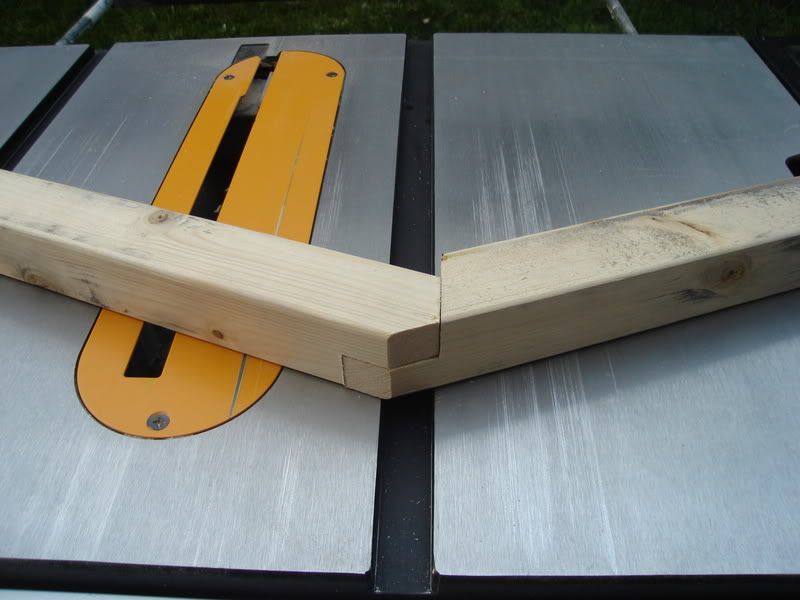
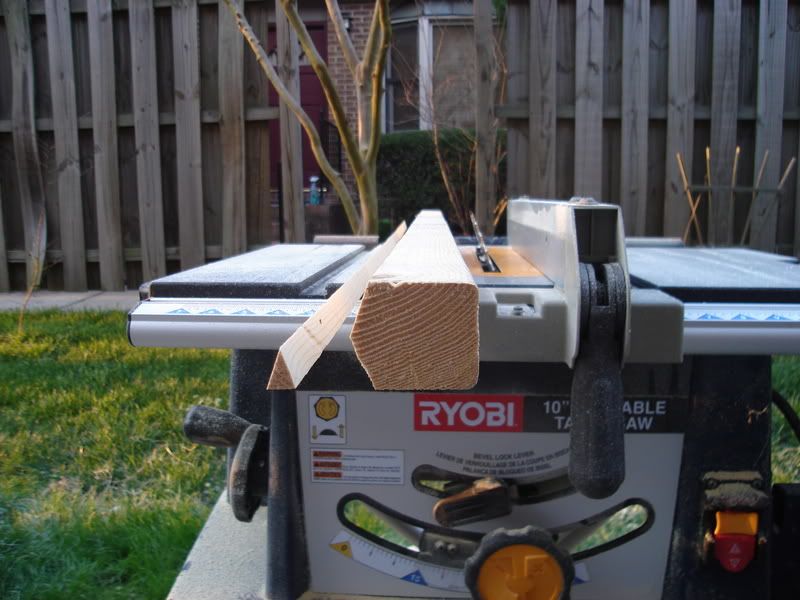
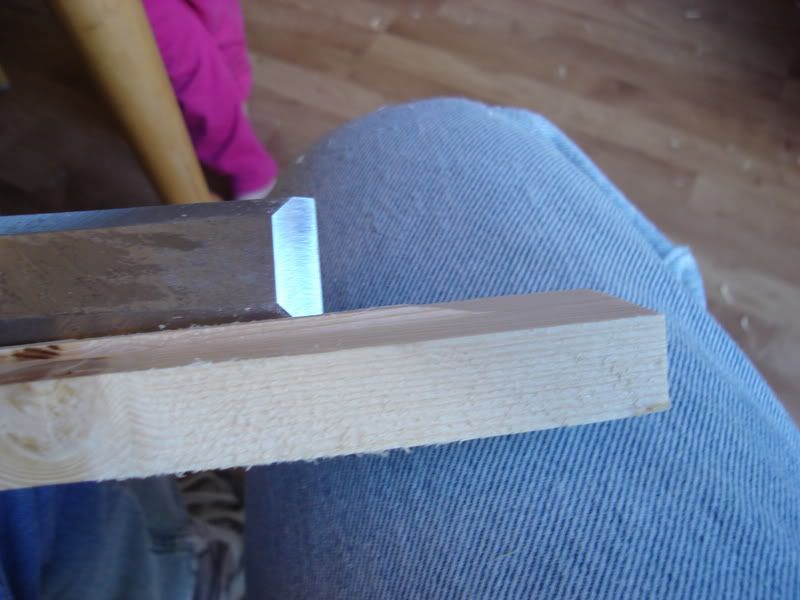
The ends needs some work next. They needed a slot cut to receive the ridge pole of the roof, and I cut this using a combination of the table saw and hand saws. The ridge pole of the roof should slip into this, meaning that the roof can only be removed by lifting it straight up. This should keep the roof from blowing of or otherwise coming off by accident. I have a picture with a leftover bit of the ridge pole slipped into place as an example.
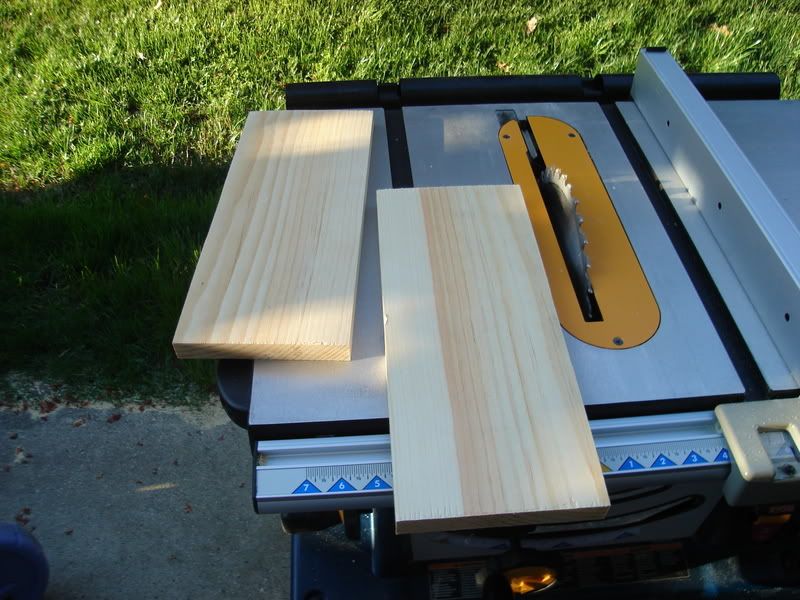
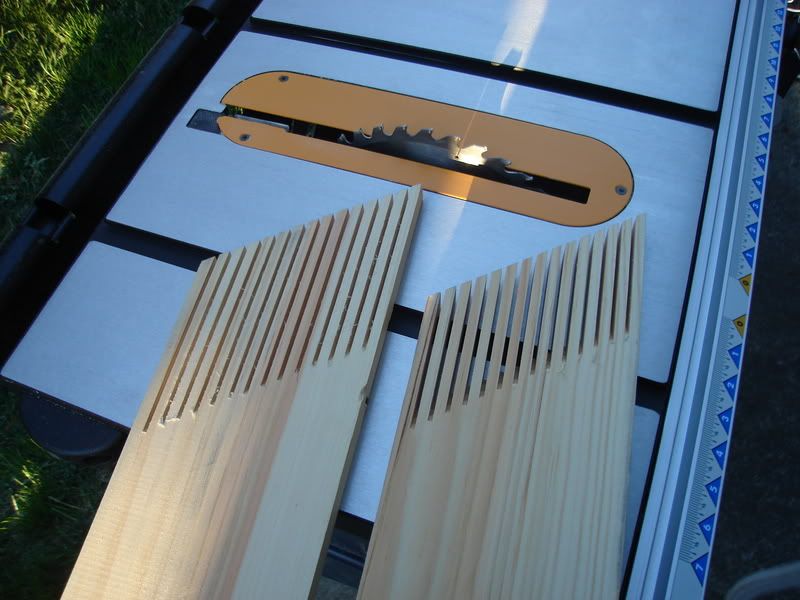
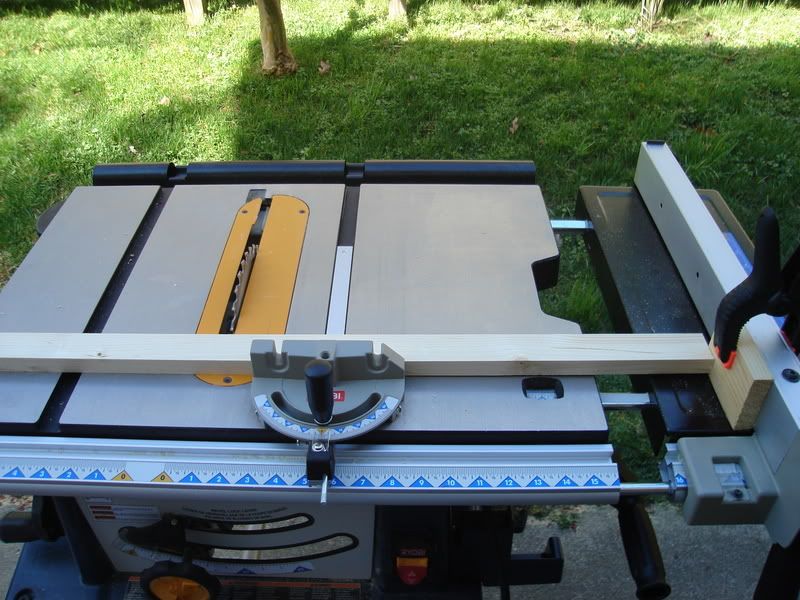
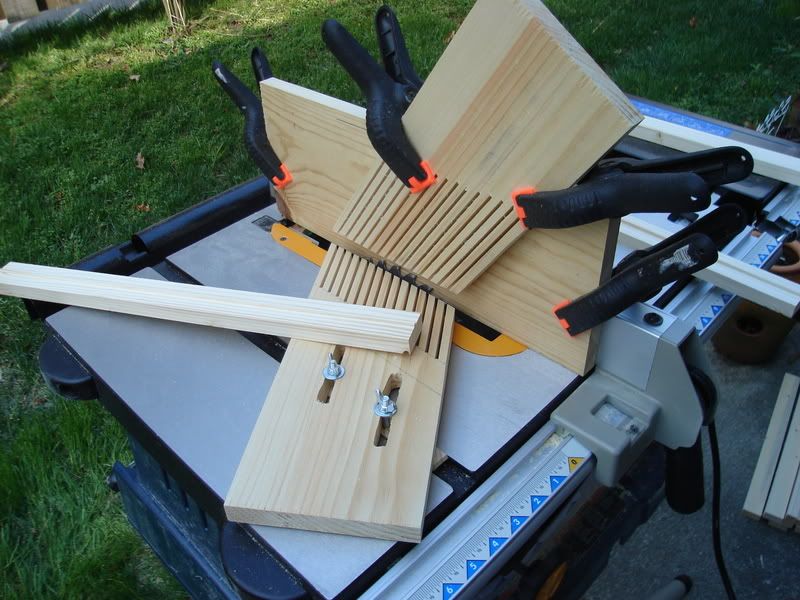
Next, I needed to cut the entrance one one end and slots for feeders on the other. I wanted them to be straight and nicely 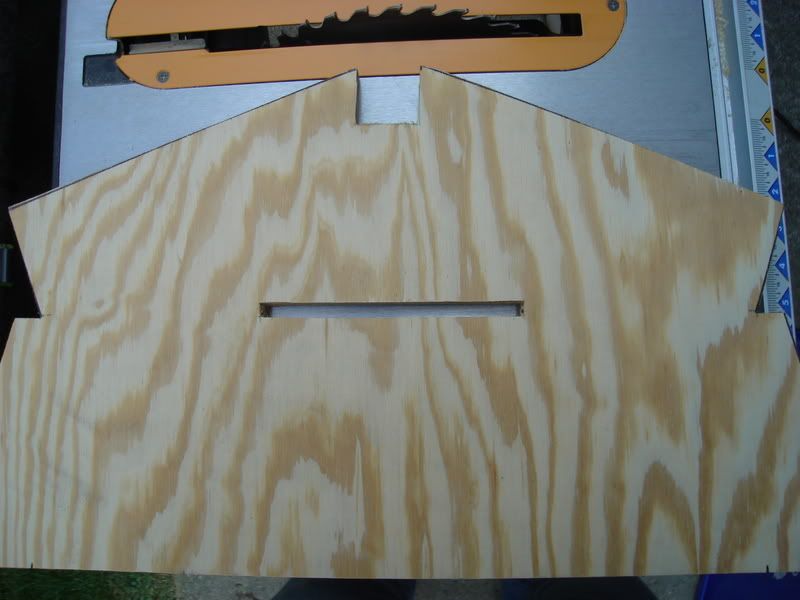 cut. What I ended up doing was setting up the blade on my table saw so that I could lower the piece onto it and it would cut a slot of the right length. I then flipped the piece over and did it again. This cut a slot, but the end were not square. Due to the curve of the saw, the slot is a dome shaped cut from each side. I used a hand saw and a chisel to square and clean up the slots. I actually lowers it onto the saw three times to make the 3/8″ slot (the saw blade is about 1/8′ thick). I made the entrance slot about 7 inches long. The feeder slot I was not sure about. I ordered two entrance feeders from Betterbee (thats where I ordered most of my other equipment too) . Unfortunately, I haven’t gotten them yet so I don’t really know theirs size. They should fit into a 3/8″ slot (which is what I cut), but I just don’t know how wide they are. I cut the slots in the back 4″ wide. Hopefully that is wide enough. If they are smaller, I can always block the extra opening.
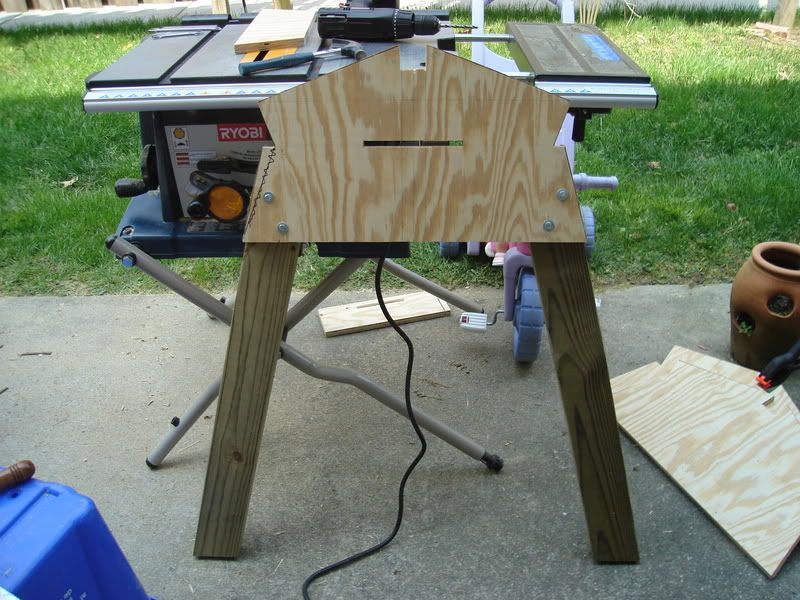
With that all done, I can actually assemble my first parts. I began by attaching the legs to the end pieces. This was done with 2 bolt (and nuts) for each leg. By using bolts, the legs are both secure and removable. Being removable is important for transport. The bolts are 1/4″ by 3″ long. I just judged placement by eye, drilled, and bolted.
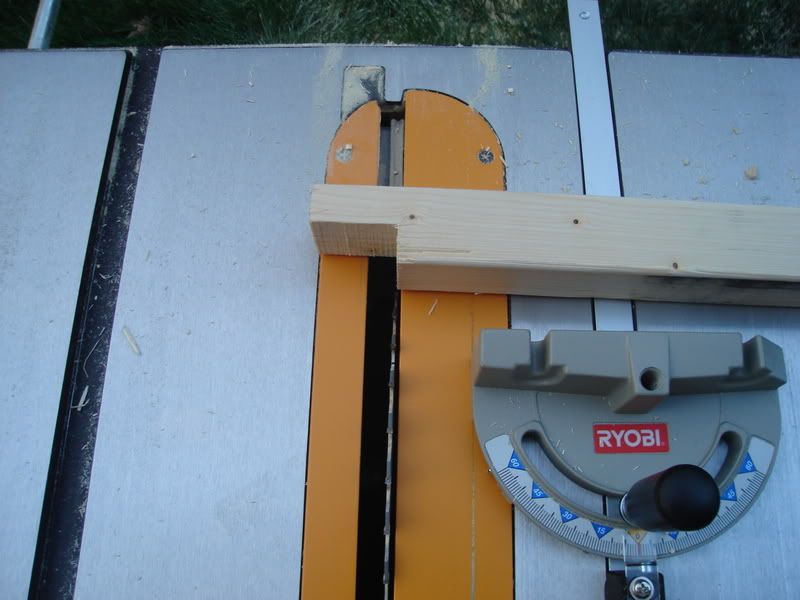
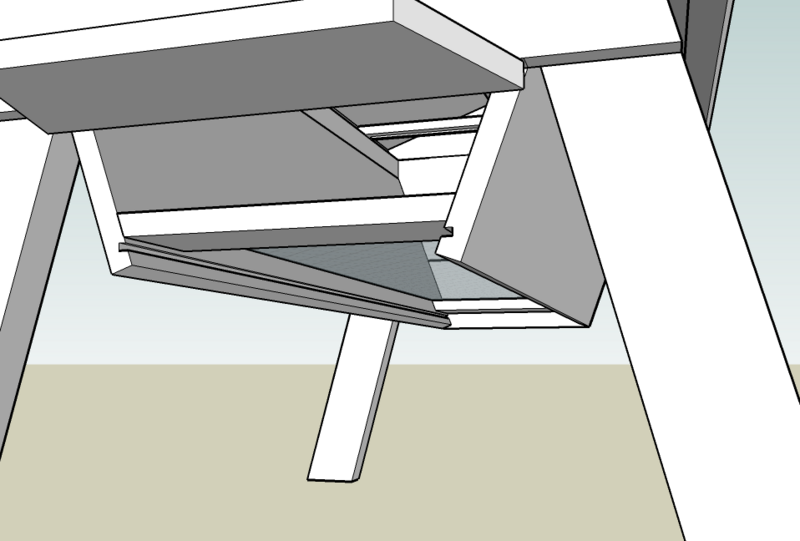
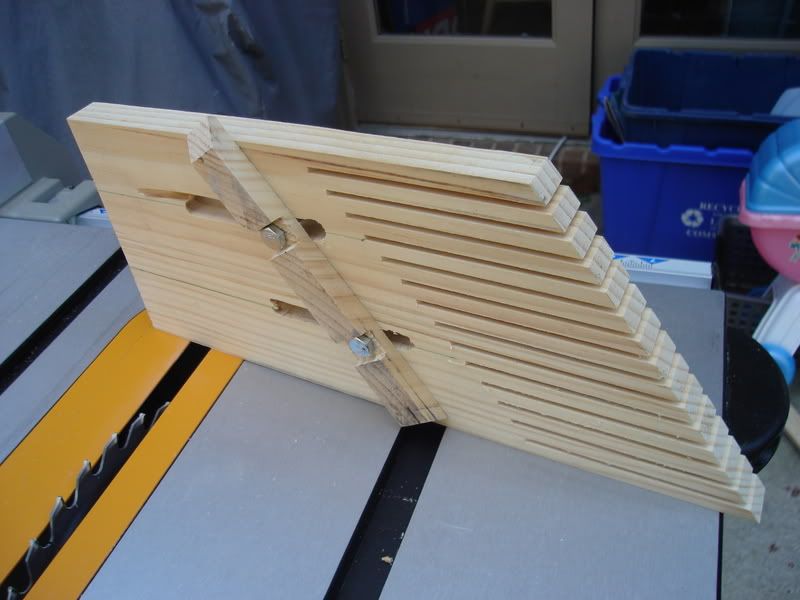
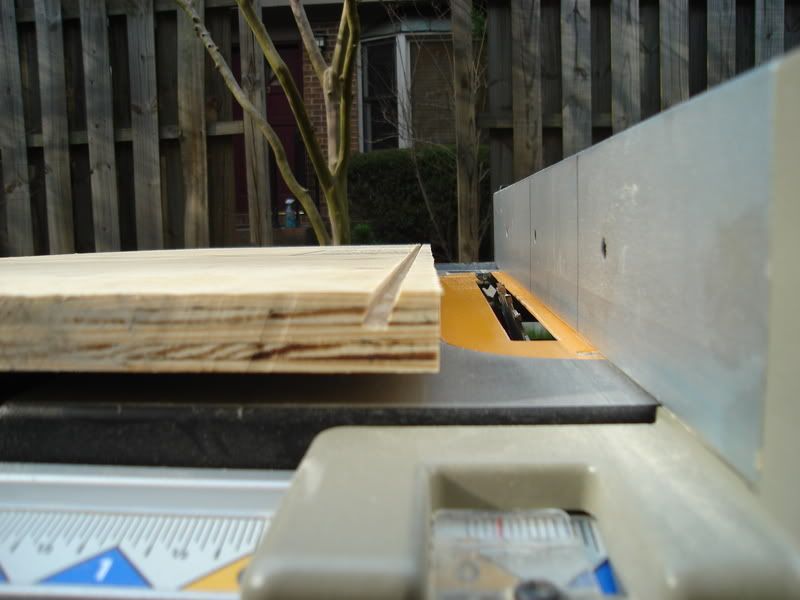 I almost started the assembly at this point, but luckily remembered that I had to cut grooves to accept the removable bottom board. Had I put it all together without cutting these grooves, that would have been a problem. I set the blade of the table saw at 20 degrees (the angle of the sides) so that the groove will be horizontal. I ran the sides though with the blade raised to slightly less than 3/8″. To make the groove a bit wider (to easily accept the bottom board), I move the fence slightly and ran them through again.
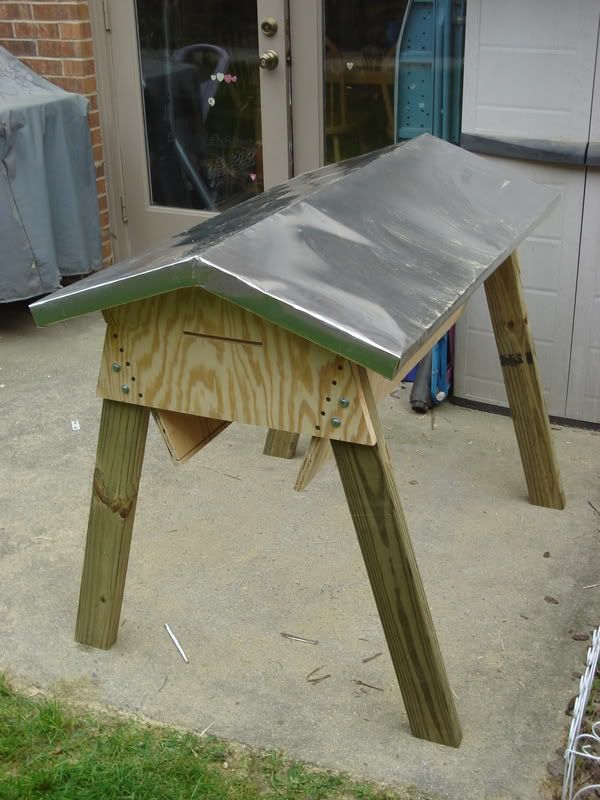
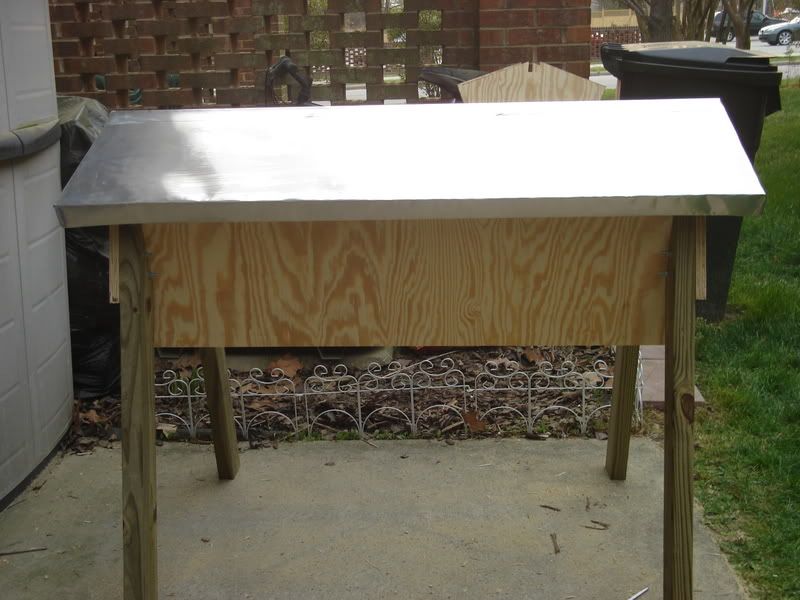
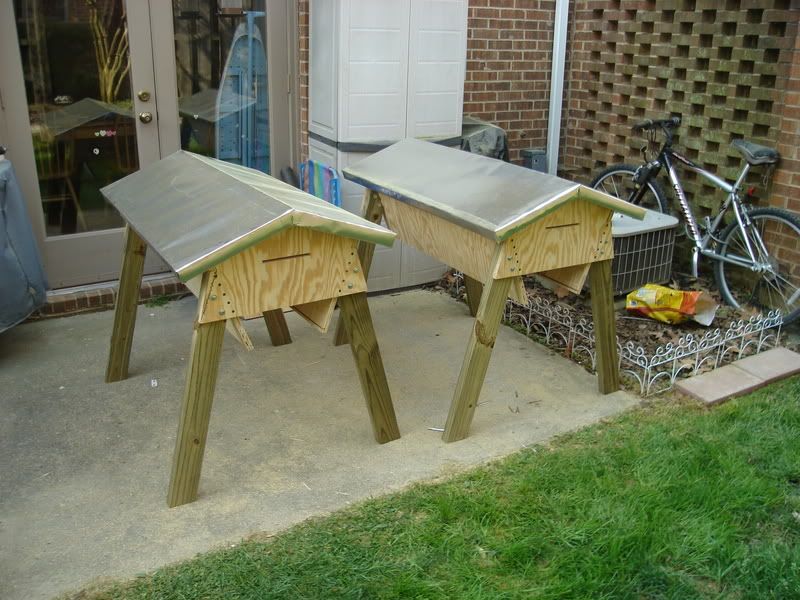
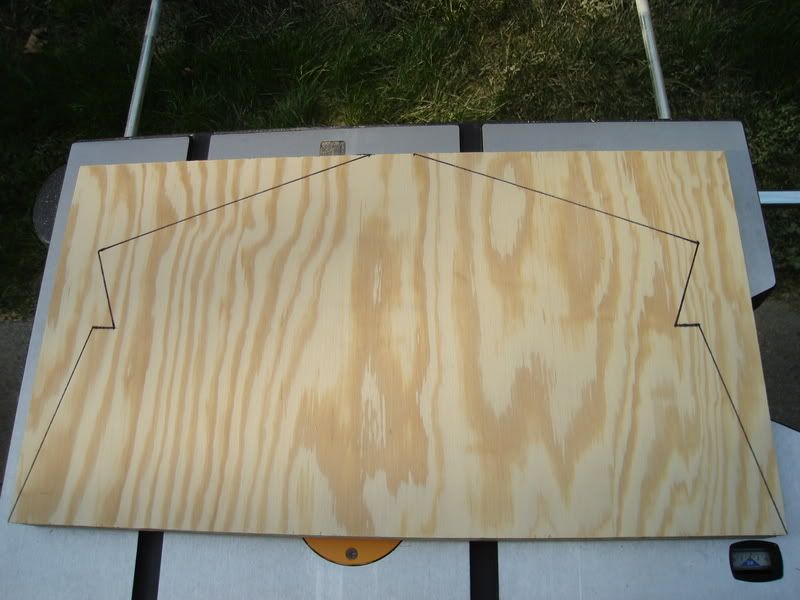
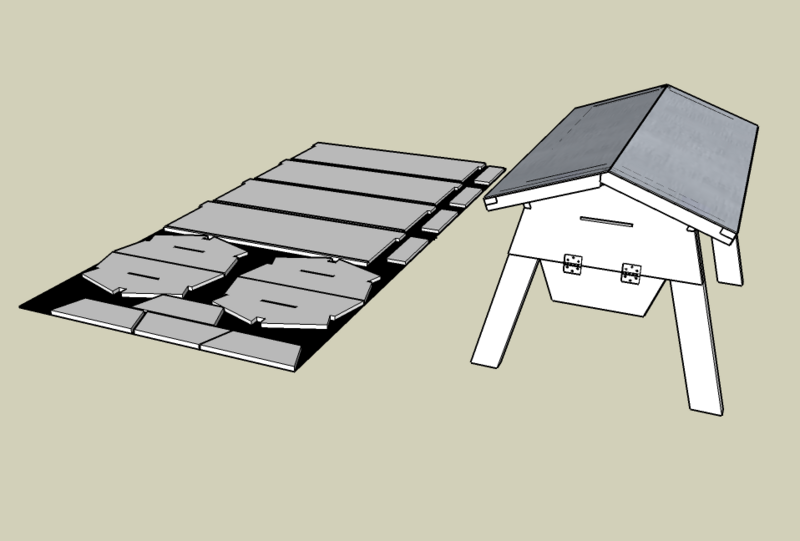
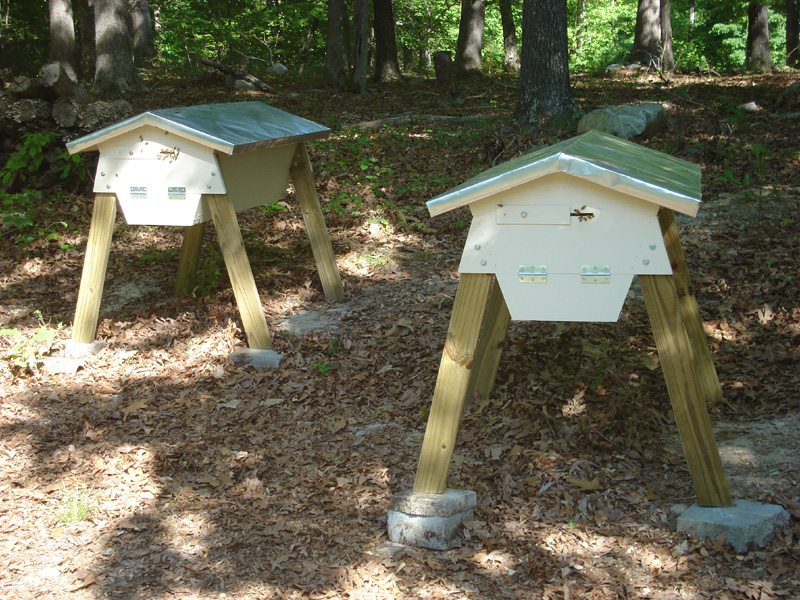
Now I got to put the main body together. It had a Dr. Frankenstein “It’s Alive!” kind of feeling. I had only seen it on the computer, and hadn’t tried putting anything together until now. With all the measurements on the computer, I cut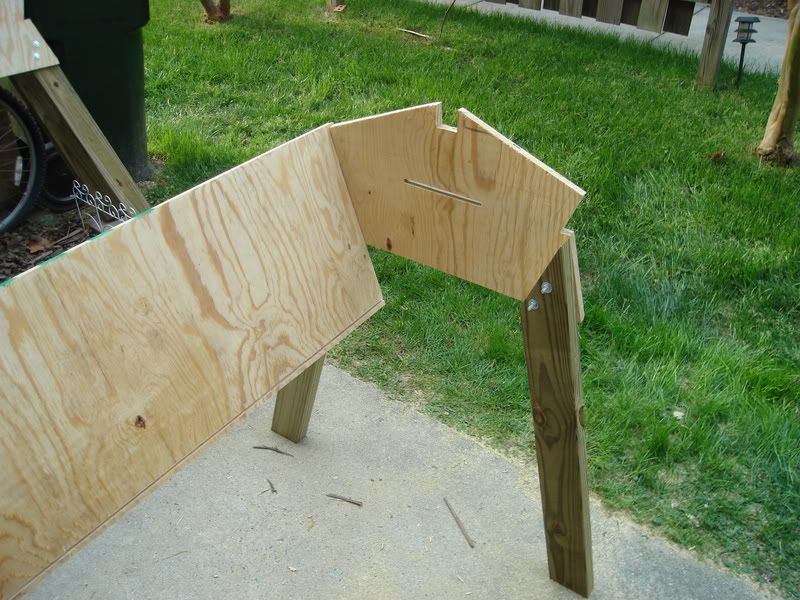 out and
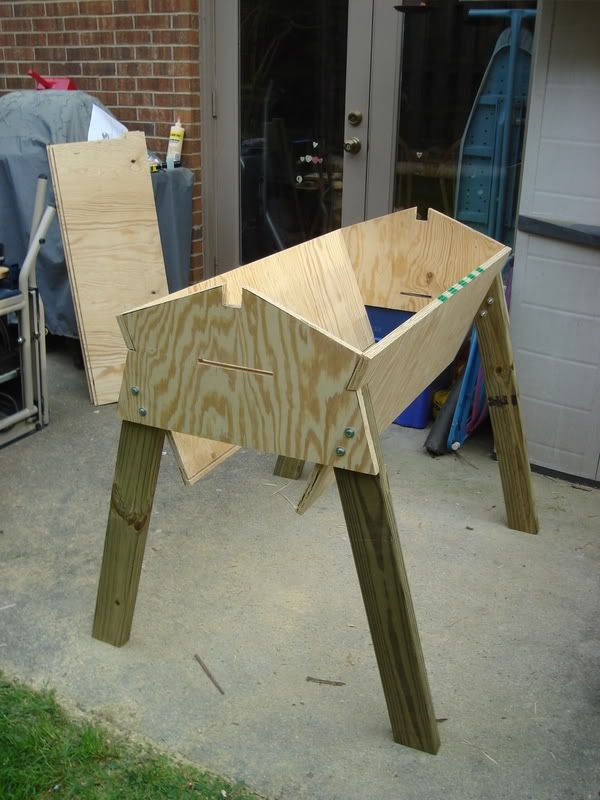 dealt with all the part separately until now. I did a dry for (no glue, screws, or nails yet). It was actually amazingly stable. The side had tabs that kind of form one half of a dovetail. Between that and the legs, the side slip in and are held pretty firmly in place. Even with only one side inserted, it holds together well. After the dry fit, I disassembled it all, pre-drilled holes where the screws would go, and applied wood glue. Then I simple had to reassemble it and screw it together. It all went smoother than I thought it would. With the top on, it is starting to look like something instead of a pile of strangely shaped lumber.
As you can see, I have not attached the clean out doors yet. They will cover the opening at the bottom of the ends. I don’t plan to attach them until after I paint the hives. I don’t want to paint the hinges, and would like to have the wood under them painted. For that reason, they will be almost the last things to go on.